Who remembers back in the 90’s where only the bravest were browsing the web with very slow internet connections? Back in Internet Explorer 6 era images were loading frame by frame and you were waiting for the whole image to load.
Funny thing, sometimes it was as if you were waiting for a Fax to arrive. Today we can laugh about it, although back then it was a actually a pretty neat tech. It used to allow a user to get meaningful content instead of seeing a blank image. Quite impressive for those who remember.
And of course… the Epic Functionality of Internet Explorer: “Right Click” “Show/Load Image” Which was actually working the second time!
Nowadays residents of this earth having internet connections faster than they can actually use, everything load almost instantly. Hence there are those Speed freaks (me included) who – despite they have high speed internet connection at home – they just don’t want to wait longer than it is absolutely required.
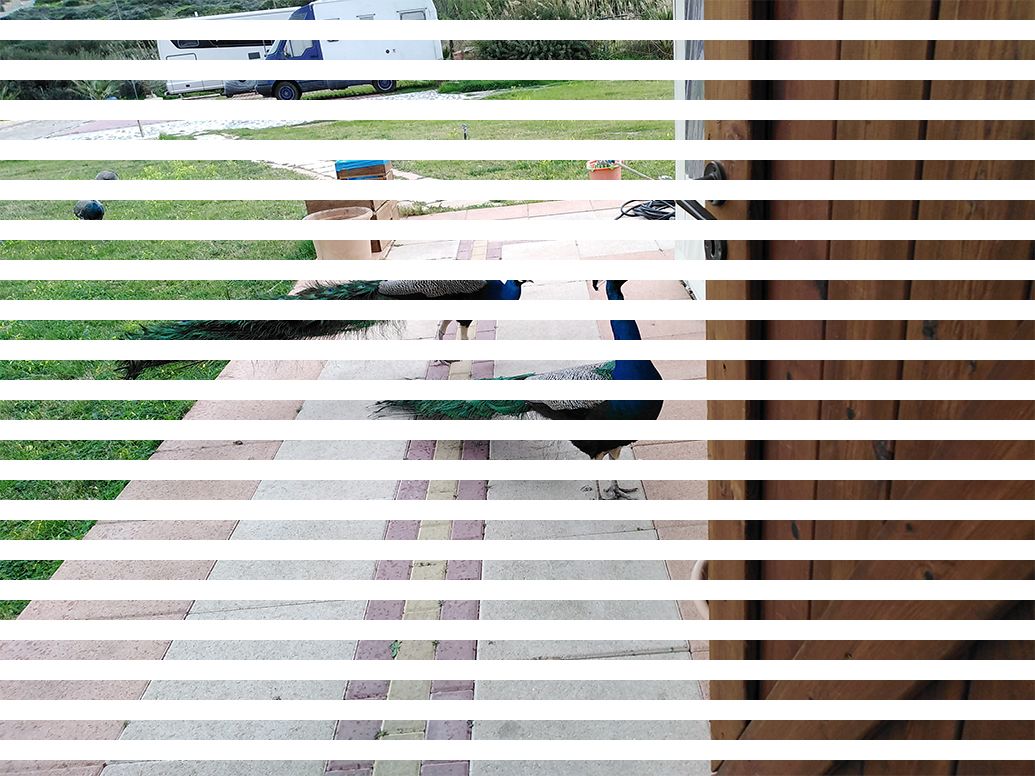
So basically, instead of loading the image from top left to bottom right, it actually loads pixels from the whole view port. Each time it loads a frame of pixels the quality gets improved. This technique gives the user a smoother experience regarding image loading. I know most of you didn’t get the “picture” so.. here is an example:

They both load at exactly the same time, but the left one has meaningful content almost at 30% percent of the time… that feels like would be 300%+ faster. To display a low quality image at full size your browser is essentially spreading out the color of the loaded pixels over the area of which no information has yet arrived. As new color information arrives they will be put in the correct position.
So, now that you fully understand Interlaced, lets talk a bit about progressive. Progressive JPEGs are a bit more complex. So lets assume that you divide the Image Viewport into smaller boxes, on which, each one of it is having a set of frequencies. In order to load in full, all frequencies from all small boxes need to be transferred to the user.
So, when you are browsing medium.com, you are actually first seeing some blurred image, then it progressively getting clearer and clearer over time which at the end allows you to view the full Picture.

Feel free to check this out on two live examples on your own browser on a fairly large image.
The first one is a Progressive JPEG, while the second one is a normal JPEG. If you have a Huge Connection you might not notice the difference, but for those of you who don’t… you may as well enjoy the result 🙂
Well, you’d be surprised to know we have built our software on all of it. We even identify whether or not the end user is having a low end mobile device that is unable to render progressive JPEGs properly in order to save his battery.
I know you don’t care about his cellphone battery and he should definitely get a new phone, but we do believe we make internet a better place for everyone, so if you wish your users to have the same user experience our customers already have. Don’t wait. Check the images of your website on our page speed checker and register your account for free.
EDIT:
After a few readers request, I also add the main image so you guys can have closure 🙂 Please don’t wait, it won’t load the missing pixels, just look at the bottom^^
